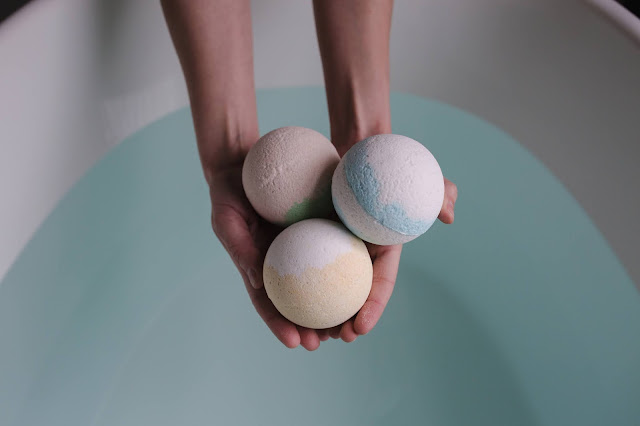
DIY Bath Bombs | Something more to relax |
DIY Bath Bombs | Something More To Relax |

Bath bombs are an excellent gift idea. They are very easy to prepare at home and the ingredients to use have a low cost. You will get sparkling, colorful and perfumed bath bombs, which will be highly appreciated by those who receive them.
Get to work. Within a day your bath bombs will be ready to be given away or used. Here are all the ingredients and tools you need, followed by explanations for preparation.

Ingredients:
- 200 grams of baking soda
- 100 grams of corn starch (cornstarch)
- 100 grams of citric acid
- 30 drops of essential oil to taste
- 1 teaspoon of olive oil
- Cocoa powder, turmeric, cinnamon or natural dyes
Tools:
- 1 coffee cup
- 1 wooden rod or 1 wooden spoon
- 1 large bowl
- 1 Teaspoon
- 1 weight (dictionary, package of pasta or rice)
- 1 spray with water
- 1 scale
- Molds (plastic wrappers, ice molds, yoghurt jars...)

Preparation:
1) Weigh the baking soda, citric acid and corn starch. Citric acid comes in granules and is easily found in pharmacies or online. Baking soda and corn starch (also known as cornstarch) are available in any supermarket. Pour the three ingredients into a bowl, preferably in glass.
2) Pour a teaspoon of olive oil into a coffee cup and add 30 drops of the chosen essential oil. You can choose, for example, essential oil of lavender or essential oil of sweet orange, for a relaxing effect, and essential oil of eucalyptus or mint to create energizing bath bombs.
3) Add the oil enriched with essences to the dry ingredients. Stir and start spraying water into the bowl with a nebulizer (an old container for perfume or spray detergents is perfect, but it must be well cleaned). Proceed little by little, stirring with a wooden spoon. Also combine the ingredients chosen to color the bath bombs, such as 1 or 2 teaspoons of turmeric powder, cocoa or cinnamon. You can also try coloring your bath bombs with a few drops of food coloring or with colored mineral powders, as in the case of soap.

4) Spray very little water with a spray bottle and mix until the ingredients begin to blend, forming a workable compound (as in the last image) which must be moist, but not soggy. Warning: they must not start to fizz. At this point you can transfer them to the molds. For example, ice molds, yoghurt pots, silicone molds and other non-rigid plastic containers are fine.
5) Transfer the mixture into the containers little by little, pressing well with a teaspoon layer by layer, to compact everything. If you have used a silicone mold or ice molds, you can place a heavy object, such as a dictionary or a package of pasta or rice, on top to prevent the bath bombs from expanding too much. Let them rest in the molds for at least 1 or 2 hours, until they have started to solidify, before taking them out. Then turn the molds over and place the bath bombs on a tray. Let them dry for at least a full day (the surface should not be wet) before using them in the bath or wrapping them as a gift.
NOTE:
With the indicated ingredients you will fill about 6 silicone molds of 80-90 grams.


Comments
Post a Comment